A few days ago I made a bouquet of origami flowers to cheer myself up.

They're not too complicated to make, and so I thought I'd share the method with my blog readers. This is the first tutorial I've ever written, so I hope it makes sense, and if you need any further clarification please post in the comments and I'll do my best to help!
So, without further ado, here is my tutorial for making an orgami flower!
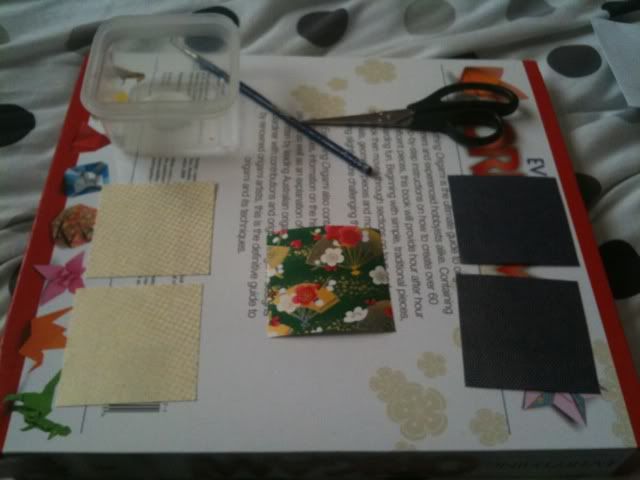
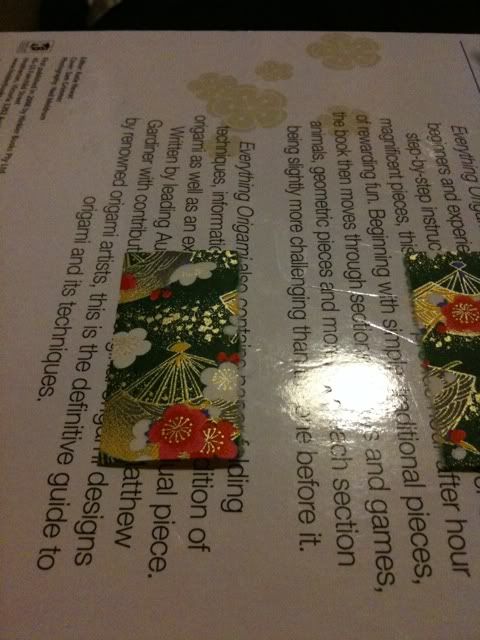
What you'll need: 2 squares of paper per flower, 1/2 of paper for a stalk, glue (I'm using PVA as I had it to hand, but pritt stick works just as well!), and a pair of scissors.
Step 1: fold one square of paper in half, and then unfold it again.
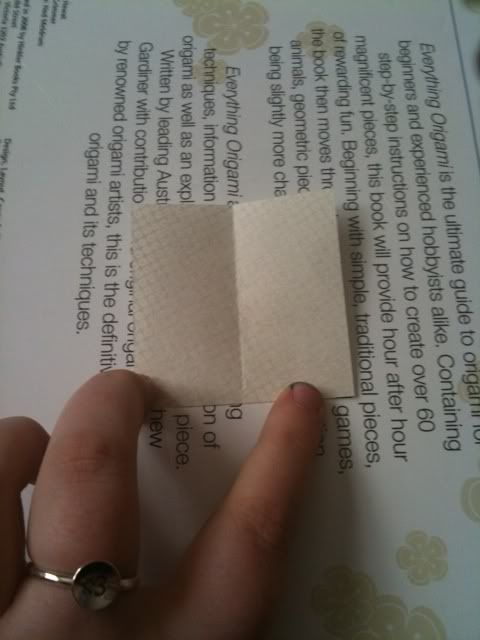
Step 2: fold both edges into the centre line you've just created.
Step 3: fold your paper in half the other way and unfold it again.

Step 4: fold the ends into the line in the middle you've just created and then unfold.

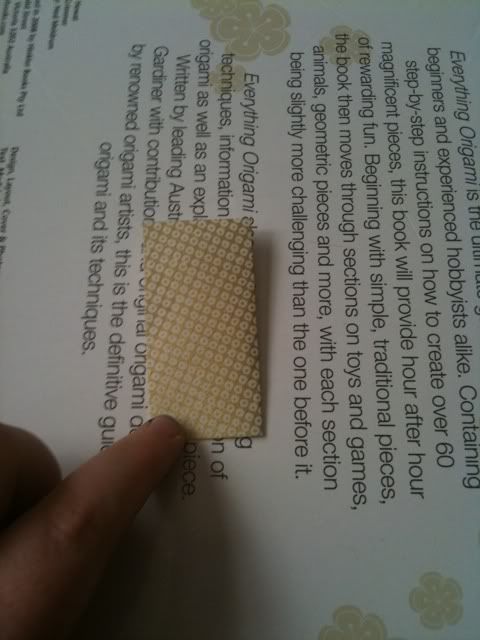
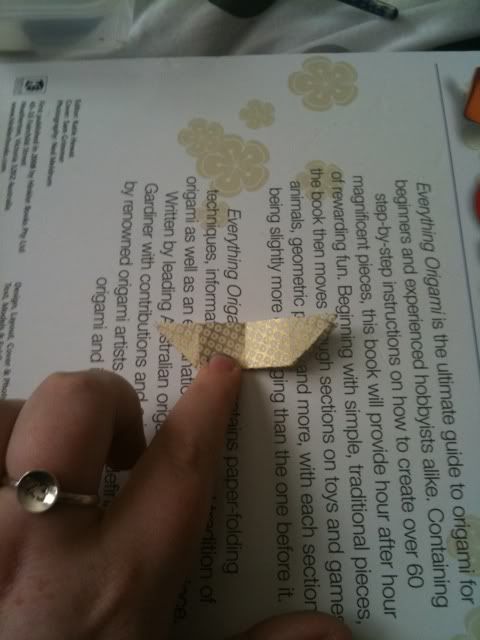
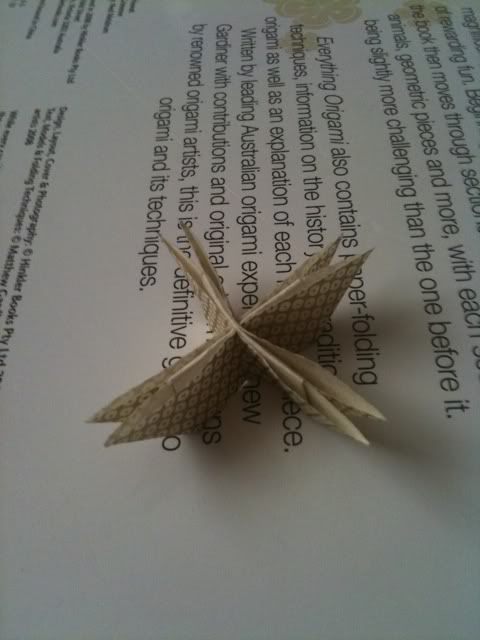
Step 5: This is the most complicated step! You'll need to put your finger on one corner:
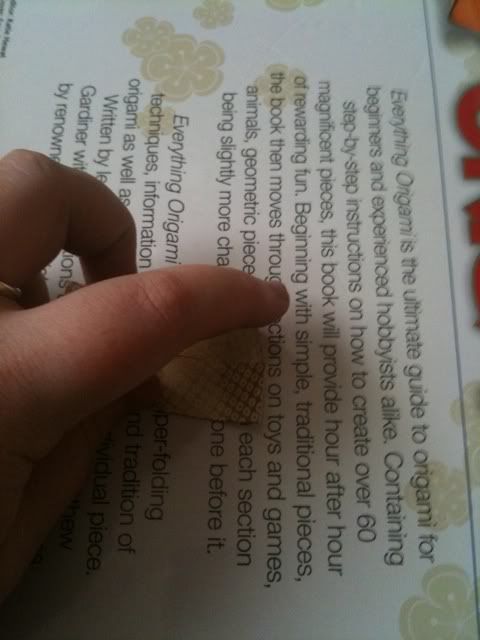
And push down so it forms a triangle. This can take some practice, but the joy of paper is that you can always unfold it and start again!
Repeat on all four corners.

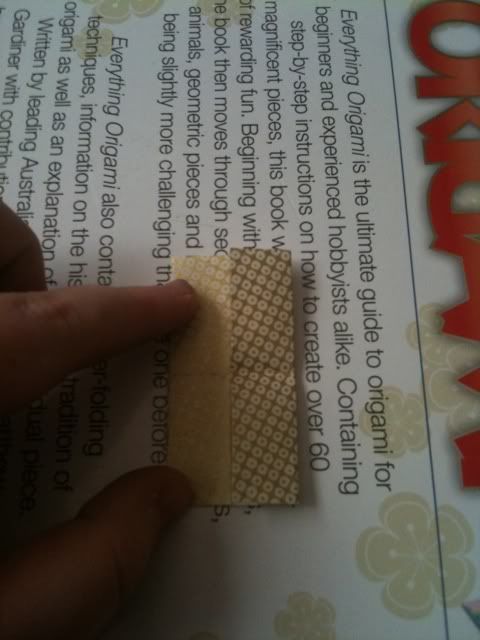
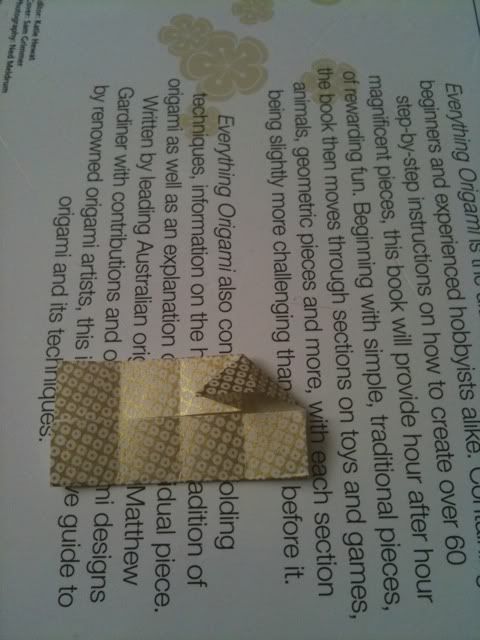
Step 6: fold the triangles you've just created up to the points above them.

Step 7: Turn your paper over
And fold the triangular flaps over.
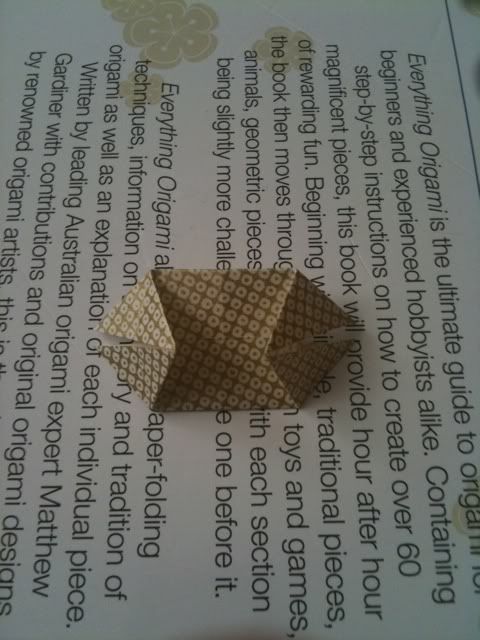
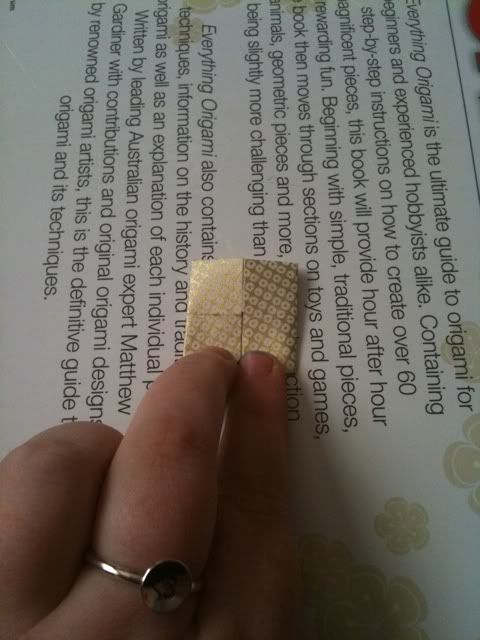
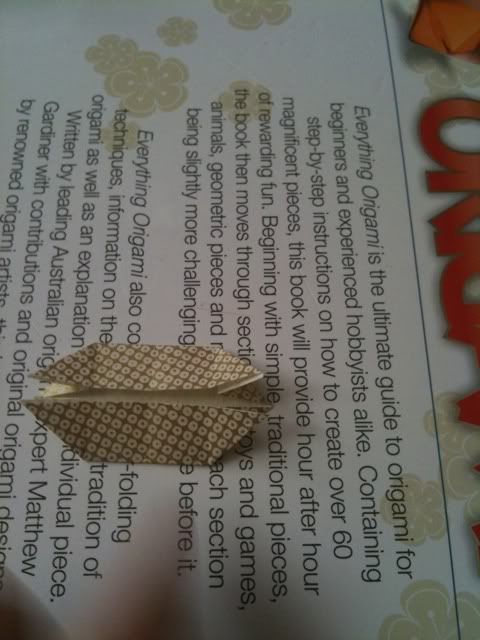
Step 8:
Fold your paper in half.
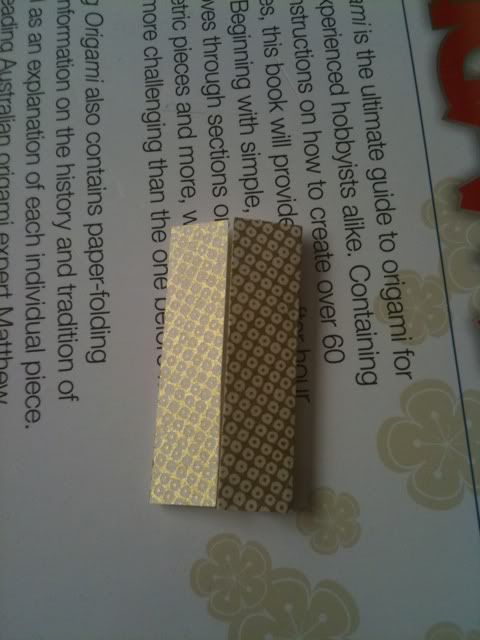
Step 9: repeat on another piece of paper - you should now have two boat shaped pieces of paper.
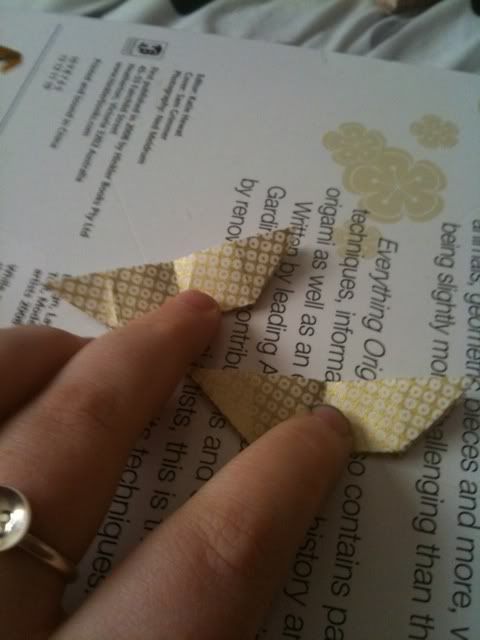
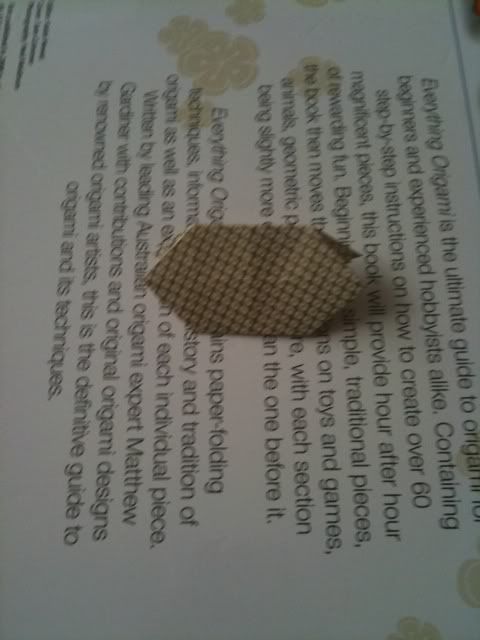
Step 10: cut a slit in the middle of the top of one piece, and the bottom of the other.

Step 11: slot the two pieces together.
Step 12: fan the petals out
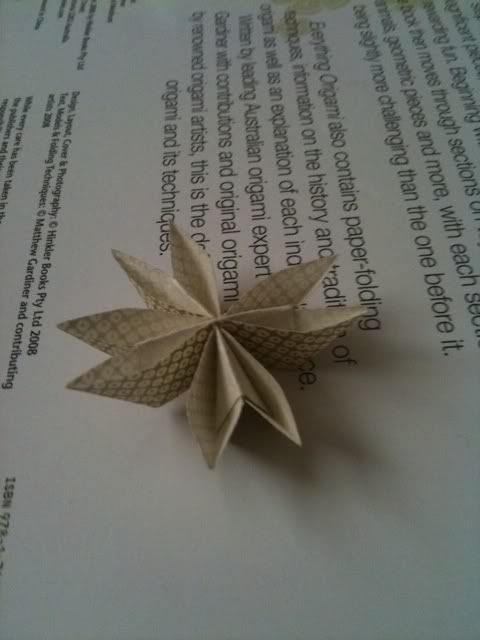
Step 13: Put a spot of glue on the loose petals which touch and stick together.
Step 14: for the stem of your flower you'll need half of a square of paper.
Step 15: roll up your rectangle into a tube, from one corner up to the other
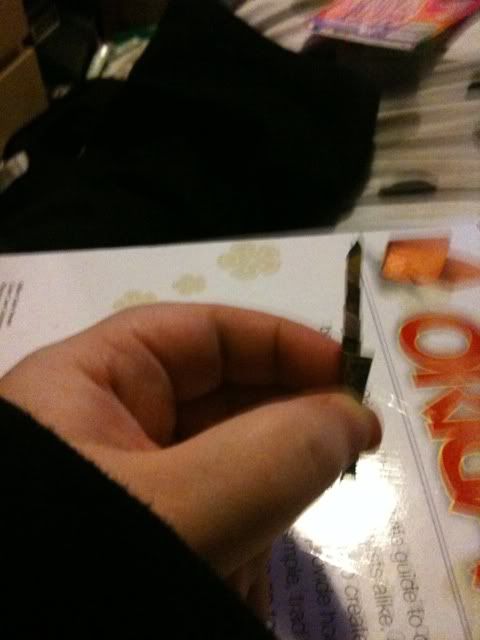
Put a dab of glue on the loose end to stick it together.
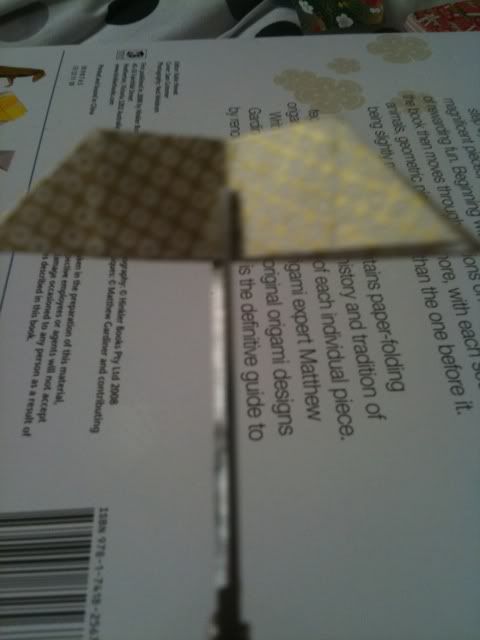
Step 16: cover the end in glue
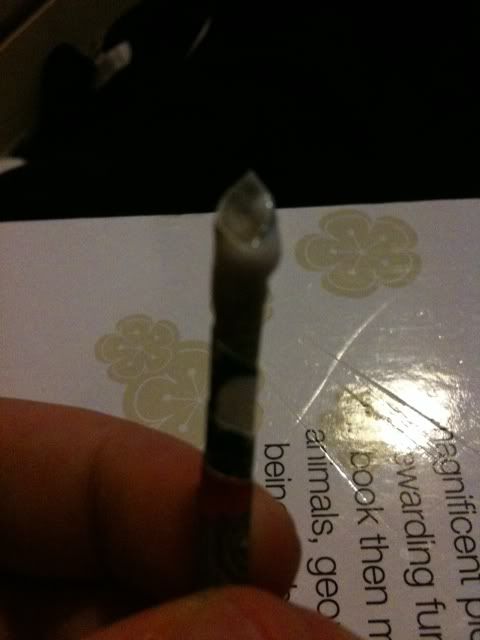
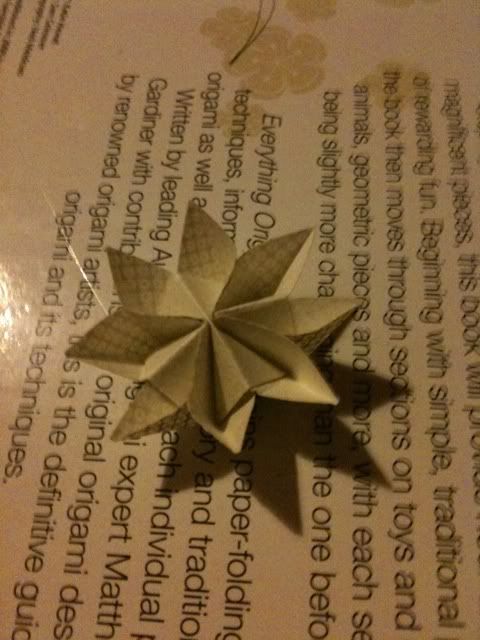
And insert between two petals on your flower
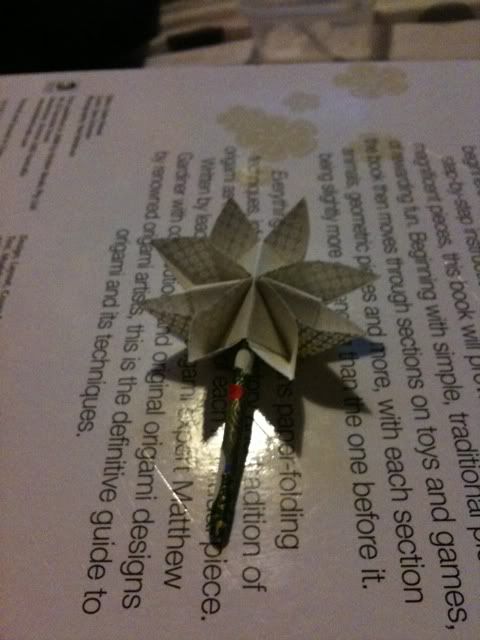
Leave to dry, and you have the first flower of your origami bouquet!
Tips:
I folded this flower so the patterned side of the paper faces outwards. If you want the patterned side on the inside, so you can see it slightly better, start with the coloured side of the paper facing up with the first fold.
Practice with squares of printer paper or magazine pages if you're unsure - practice really does help, especially on the tricky triangle folds!
If you need to cut paper, you can do it with scissors, or my personal favourite method of folding, and wetting the paper and tearing it!